Radial Skill Check in Unreal Engine: Complete Guide
How to build a Dead by Daylight style radial skill check in Unreal Engine: a C++ component that drives normalized 0-1 zone values, a widget that rotates one image, and materials that draw the good and great arcs. A reproducible build in seven steps.
A skill check is one of the cheapest ways to make a passive action feel active. Instead of standing still while a progress bar fills, the player watches a gauge sweep around a dial and presses a key at the right instant. Repairing a generator, picking a lock, landing a craft, reeling in a fish: any “hold to do a thing” moment becomes a small test of timing. It is the loop games like Dead by Daylight built around.
This guide is a from-scratch, source-level walkthrough of how the radial version works and how to rebuild it. It is based on the Radial Skill Check plugin, so every claim maps to real code you can read, but you can follow it without the plugin to build your own.
How the system fits together
The whole mechanic is one number. A C++ component, USkillCheckComponent, keeps a
single gauge angle normalized to 0-1 around the dial and advances it every tick. Each
check it randomizes two targets on that same 0-1 line: a wider good zone and a narrow
great zone nested inside it. When the player presses the key, it compares the angle to
those ranges and fires one of three events.
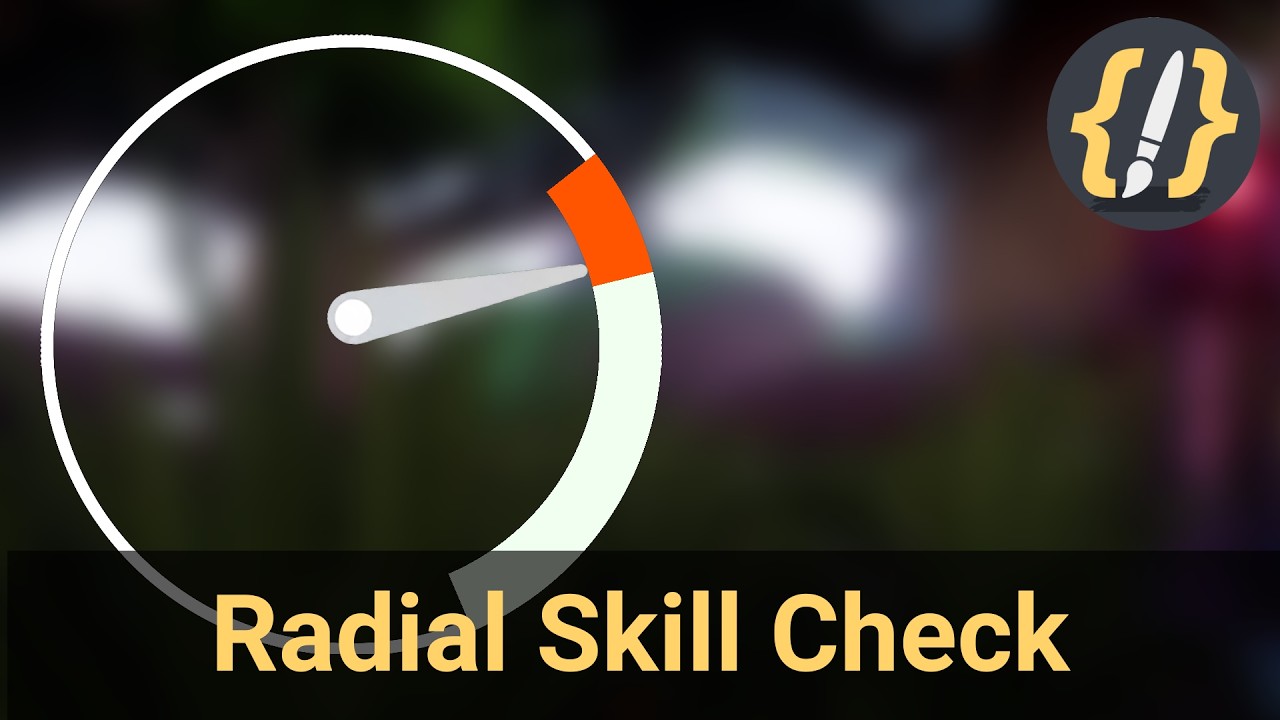
Drawing is deliberately split off from logic. The widget, WBP_GaugeSkillCheck (built on
the UUI_RadialCheckWidget C++ base), does almost nothing: it rotates one image, the
needle, by setting its render-transform angle to angle * 360. The colored good and great
arcs are a material, M_DynamicRadialSlice, whose parameters are exactly those
normalized values:
material "Radius" param = zone size      (arc length, 0-1)
material "Angle"  param = zone start     (where the arc begins, 0-1)
component angle (0-1)   -> needle rotation = angle * 360 degrees
So the component never touches a pixel, and the material never knows about gameplay. The widget is the thin seam between them: on every update it pushes the component’s numbers into the material’s parameters. Get that contract right and you can restyle or rebuild the visuals completely without changing a line of the logic.
What you need
This is intermediate Unreal Engine: you should be comfortable reading a material graph, following a Blueprint event graph, and reading a little C++. It targets UE 5.1 and has no third-party dependencies. If you would rather skip the build and drop it in, the Radial Skill Check plugin packages the whole system, or read the documentation.
The build, step by step
Work through the seven steps in order for the complete picture, or jump straight to whichever piece you need: the C++ that drives the angle, the randomization, the material that draws the arcs, the widget that wires them together, or the scoring and triggering.
Frequently asked questions
- Do I need C++ to use it?
- No. The whole workflow is Blueprint: add the component, call Begin Solving and End Solving, bind a key to Attempt Skill Check, and handle the three events. The C++ is the UI_RadialCheckWidget base class under the hood, but you never have to touch it to ship a check.
- How is the gauge actually drawn?
- The C++ widget only rotates one image, the needle, by setting its render-transform angle to the current angle times 360. The good and great arcs are a material, M_DynamicRadialSlice, whose Radius parameter is the zone's arc length and whose Angle parameter is the zone's start. The widget pushes the component's normalized 0-1 values into those parameters.
- What is the difference between the good and great zones?
- The good zone is the wider, forgiving target for a normal success. The great zone is a narrow band nested inside it for a perfect hit. Both are re-randomized every check, and scoring checks great first so a perfect stop takes priority over a plain good.
- What counts as a miss?
- Two things: stopping the gauge outside both zones, or letting it run out its allowed rotations (Max Full Rotations) with no input. Set Max Full Rotations to -1 to disable the timeout, so the only way to fail is a wrong stop.
- Can checks appear automatically?
- Yes. With Auto Trigger Skill Checks on, checks appear at a randomized interval for as long as a solving session is open. Turn it off and call Show Gauge yourself to trigger checks on demand instead.
- Which Unreal Engine version does it need?
- It targets Unreal Engine 5.1 on Windows (Win64).